
 BUY 1 GET 1
 Influencers' pick
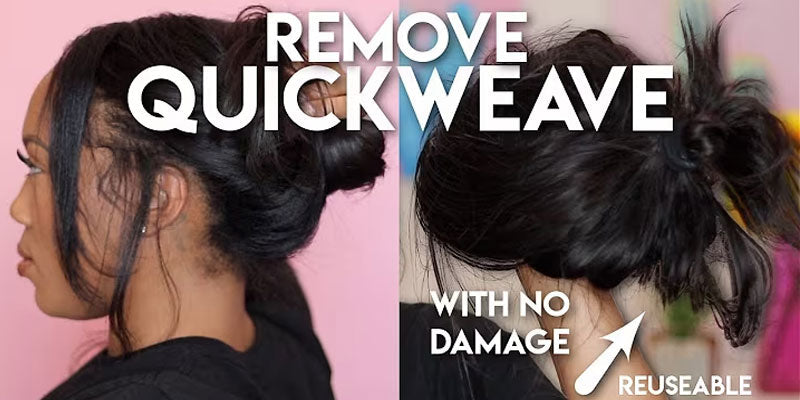
Removing a quick weave properly is crucial for maintaining healthy natural hair and preventing damage to your scalp. This comprehensive guide will walk you through the safe removal process step by step, ensuring you protect your natural hair while effectively removing the quick weave.
What You'll Need
Before starting the removal process, gather these essential supplies:
- Oil-based hair conditioner
- Clarifying shampoo
- Wide-tooth comb
- Rat-tail comb
- Spray bottle with warm water
- Hair oil (coconut, olive, or argan oil)
- Clean towel
- Hair clips
- Acetone-free adhesive remover (if bonding glue was used)
Step 1: Prepare Your Hair and Workspace
Begin by creating a comfortable workspace with good lighting. Section your hair into manageable parts using hair clips, keeping the sections neat and organized. This preparation will make the removal process more systematic and thorough.
Step 2: Apply Oil-Based Products
Liberally apply your chosen hair oil or oil-based conditioner to your hair, focusing on the areas where the tracks are bonded. The oil helps break down any remaining adhesive and makes the removal process gentler on your natural hair. Let the oil sit for 15-20 minutes to thoroughly penetrate the bonded areas.
Step 3: Gentle Detachment Process
Starting from the back of your head, carefully begin separating the weft from your braided base. Use these techniques:
- Gently pull the track away from your natural hair
- If you encounter resistance, apply more oil to that specific area
- Never force or pull aggressively, as this can damage your natural hair
- Work in small sections, being patient with each area
Step 4: Remove Remaining Adhesive
After removing the tracks, you may notice some remaining adhesive in your hair. To safely remove it:
- Apply adhesive remover specifically designed for hair extensions
- Gently work the product through your hair with your fingers
- Use a rat-tail comb to carefully separate any stuck strands
- Take extra care near your scalp to avoid irritation
Step 5: Cleanse and Condition
Once all tracks and adhesive are removed, thoroughly cleanse your hair:
- Wash with lukewarm water and clarifying shampoo
- Perform a second wash if necessary to remove all product residue
- Apply a deep conditioning treatment
- Leave the conditioner on for 20-30 minutes under a shower cap
- Rinse thoroughly with cool water to seal the hair cuticles
Step 6: Post-Removal Care
Your natural hair needs extra attention after removing a quick weave:
- Gently detangle using a wide-tooth comb, starting from the ends
- Apply a leave-in conditioner to restore moisture
- Let your hair air dry when possible
- Avoid heat styling for at least a week
- Consider a protein treatment if your hair feels weakened
Common Mistakes to Avoid
To maintain healthy hair, avoid these common removal mistakes:
- Rushing the removal process
- Using excessive force to remove tracks
- Skipping the oil application step
- Using regular conditioner instead of oil-based products
- Not sectioning the hair properly
- Neglecting post-removal hair care
Signs You Need Professional Help
While quick weave removal can be done at home, seek professional help if you notice:
- Severe tangling or matting
- Excessive shedding during removal
- Strong adhesive that won't break down
- Scalp irritation or tenderness
- Uncertainty about the removal process
Aftercare Tips
Maintain healthy hair after removal by:
- Following a regular deep conditioning schedule
- Using protective styling methods
- Avoiding immediate reinstallation
- Incorporating protein treatments
- Trimming split ends if necessary
- Maintaining a healthy scalp care routine


Leave a comment
All comments are moderated before being published.
This site is protected by hCaptcha and the hCaptcha Privacy Policy and Terms of Service apply.